-
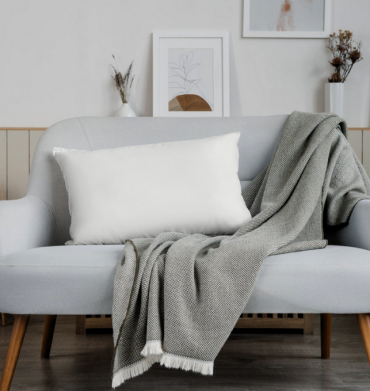
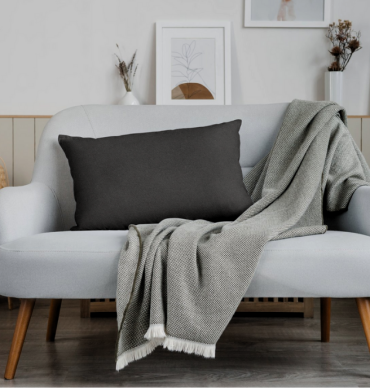
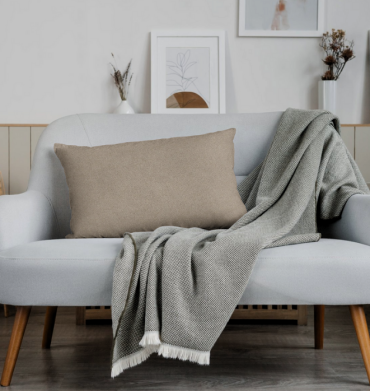
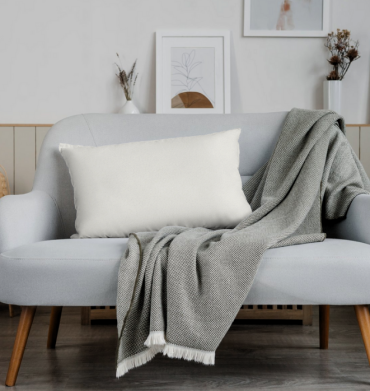
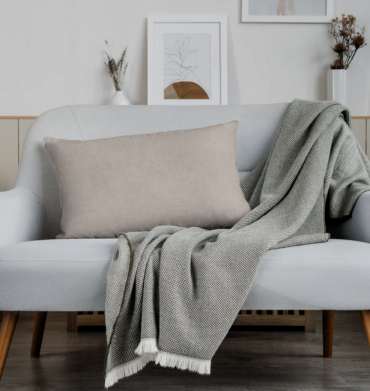
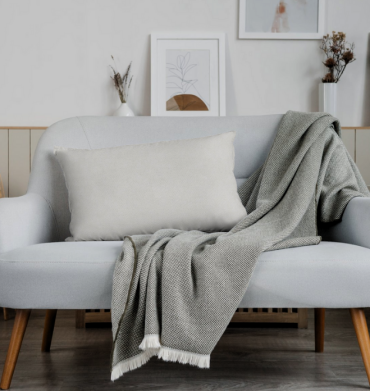
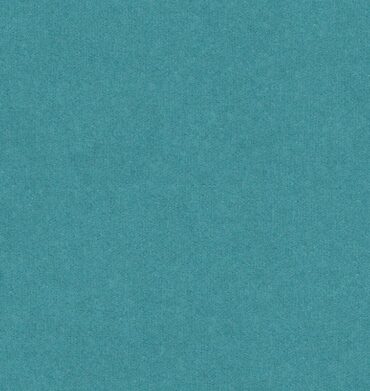
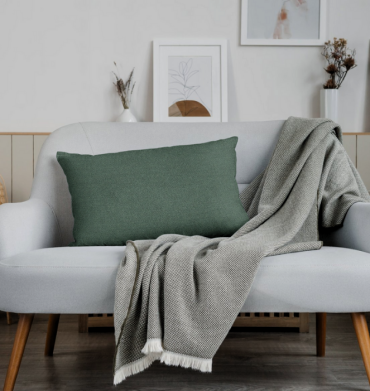
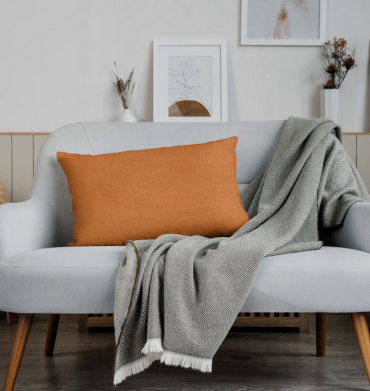
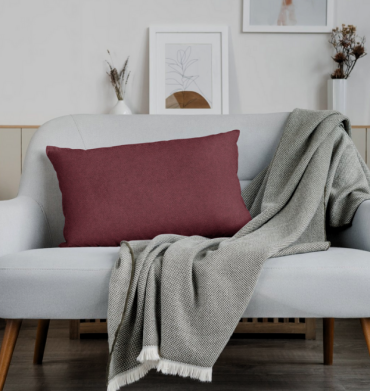
- Price Per Metre
- Color shades may slightly vary from dye-lot to dye-lot
- Image used for illustration purpose only
-
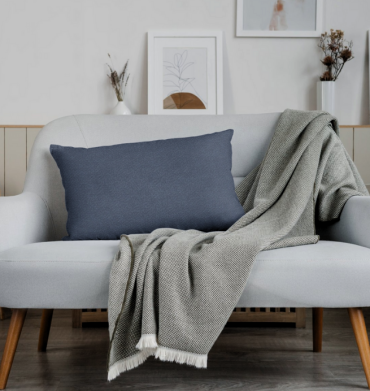
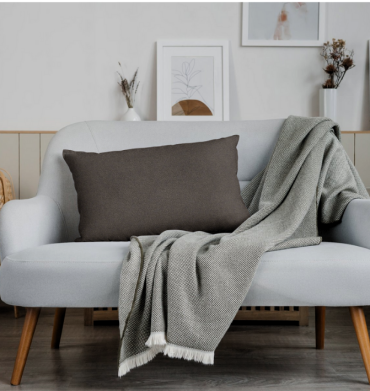
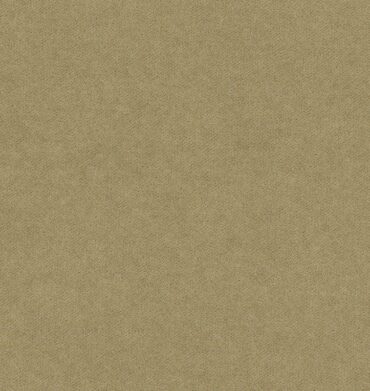
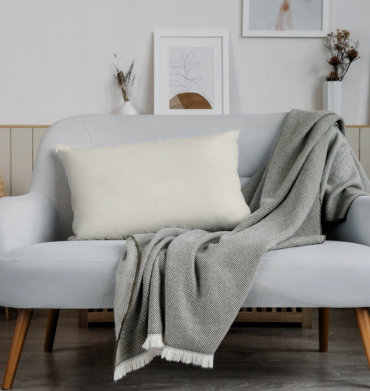
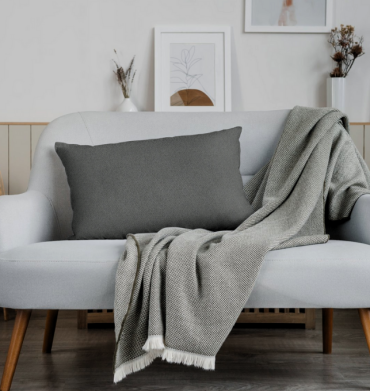
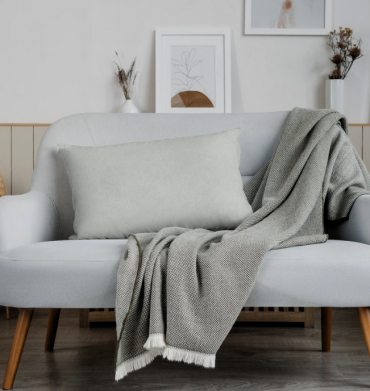
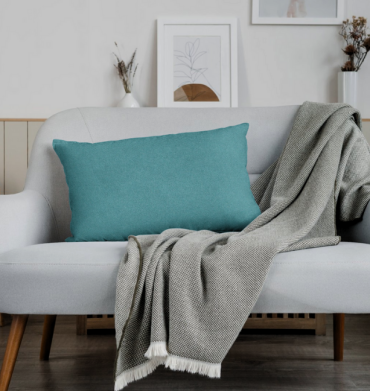
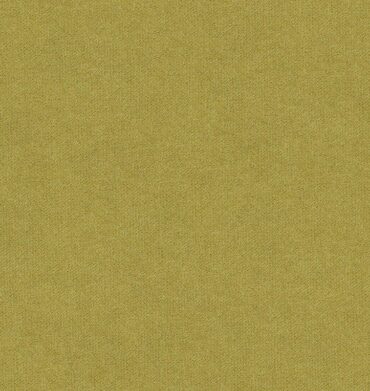
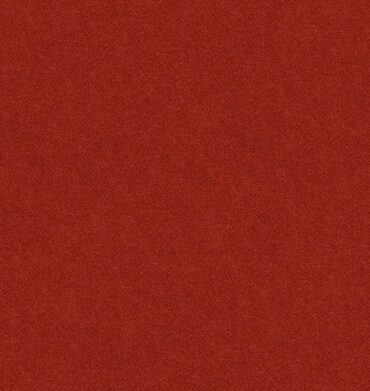
- Price Per metre
- Color shades may slightly vary from dye-lot to dye-lot
- Image used for illustration purpose only
-
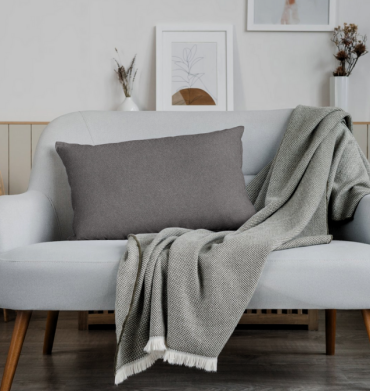
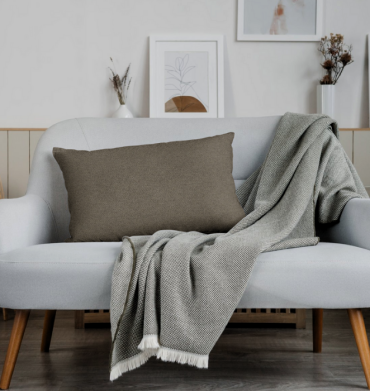
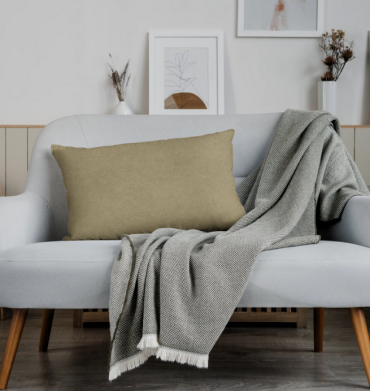
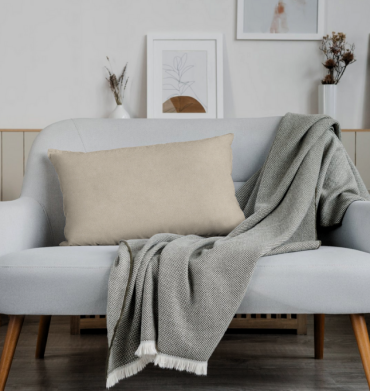
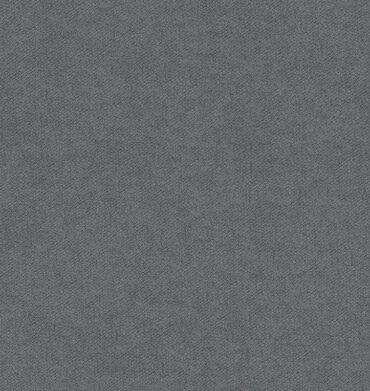
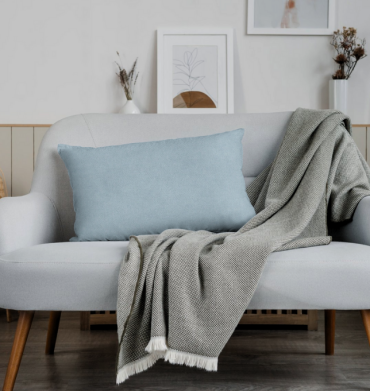
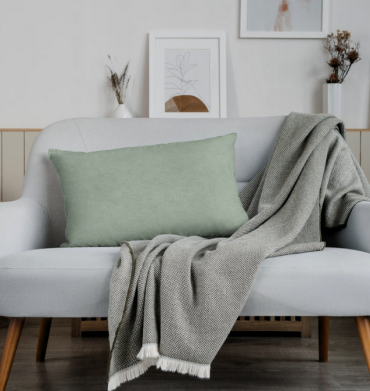
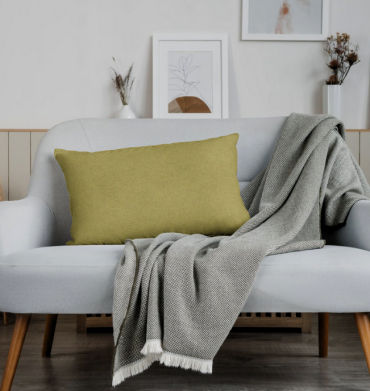
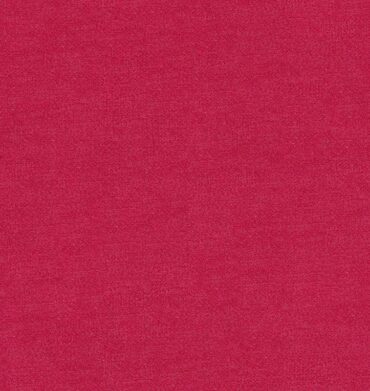
- Price Per Metre
- Color shades may slightly vary from dye-lot to dye-lot
- Image used for illustration purpose only
-
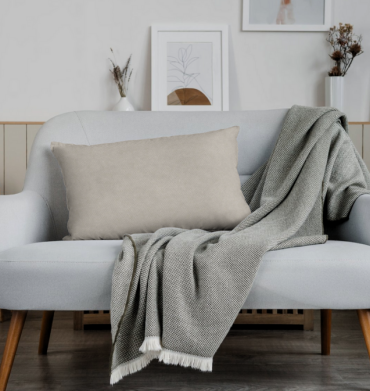
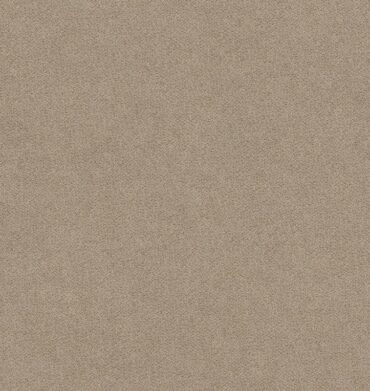
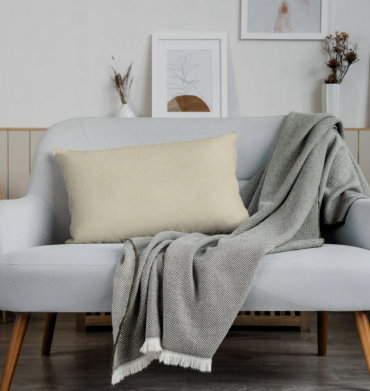
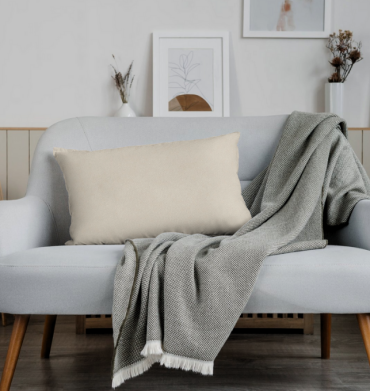
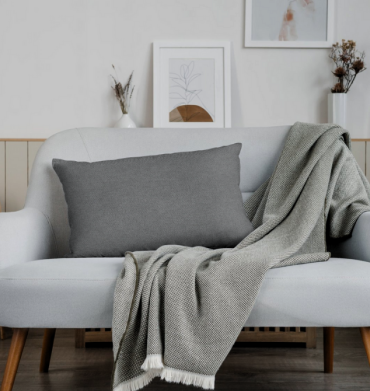
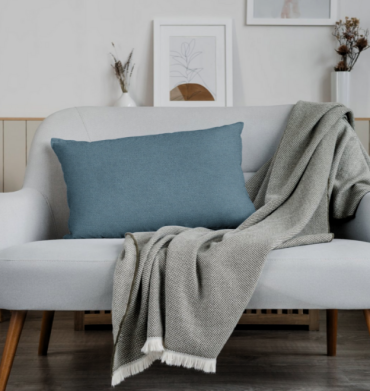
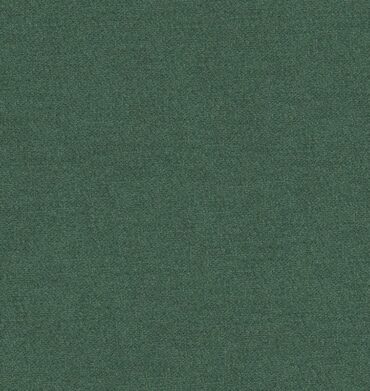
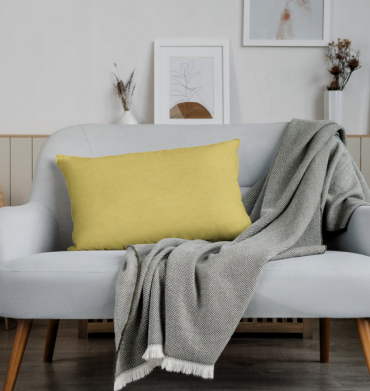
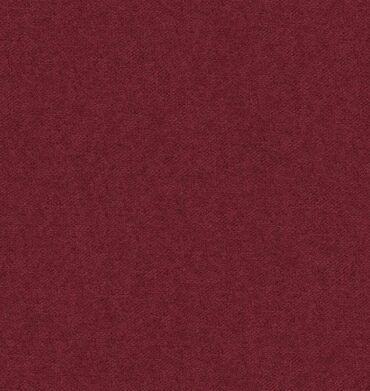
- Price Per Metre
- Color shades may slightly vary from dye-lot to dye-lot
- Image used for illustration Purpose only
-
- Price Per Metre
- Color shades may slightly vary from dye-lot to dye-lot
- Image used for illustration purpose only
-
- Price Per Metre
- Color shades may slightly vary
- Image used for illustration purpose only
-
- Price Per Metre
- Color shades may slightly vary
- Image used for illustration purpose only
-
- Price Per Metre
- Color shades may slightly vary from dye-lot to dye-lot
- Image used for illustration purpose only
-
- Price Per Metre
- Color shades may slightly vary from dye-lot to dye-lot
- Image used for illustration purpose only
-
- Price Per Metre
- Color shades may slightly vary from dye-lot to dye-lot
- Image used for illustration purpose only
-
- Price Per Metre
- Color shades may slightly vary from dye-lot to dye-lot
- Image used for illustration purpose only
-
- Price Per Metre
- Color shades may slightly vary from dye-lot to dye-lot
- Image used for illustration purpose only
-
- Price Per Metre
- Color shades may slightly vary from dye-lot to dye-lot
- Image used for illustration purpose
-
- Price Per Metre
- Color shades may slightly vary from dye-lot to dye-lot
- Image used for illustration purpose only
-
- Price Per Metre
- Color shades may slightly vary from dye-lot to dye-lot
- Image used for illustration purpose only
-
- Price Per Metre
- Color shades may slightly vary from dye-lot to dye-lot
- Image used for illustration purpose only
-
- Price Per Metre
- Color shades may slightly vary from dye-lot to dye-lot
- Image used for illustration purpose only
-
- Price Per Metre
- Color shades may slightly vary from dye-lot to dye-lot
- Image used for illustration purpose only
-
- Price Per Metre
- Color shades may slightly vary from dye-lot to dye-lot
- Image used for illustration purpose only
-
- Price Per Metre
- Color shades may slightly vary from dye-lot to dye-lot
- Image used for illustration purpose only
-
- Price Per Metre
- Color shades may slightly vary from dye-lot to dye-lot
- Image used for illustration purpose only
-
- Price Per Metre
- Color shades may slightly vary from dye-lot to dye-lot
- Image used for illustration purpose only
-
- Price Per Metre
- Color shades may slightly vary from dye-lot to dye-lot
- Image used for illustration purpose only
-
- Price Per Metre
- Color shades may slightly vary from dye-lot to dye-lot
- Image used for illustration purpose only
-
- Price Per Metre
- Color shades may slightly vary from dye-lot to dye-lot
- Image used for illustration purpose only
-
- Price Per Metre
- Color shades may slightly vary from dye-lot to dye-lot
- Image used for illustration purpose only
-
- Price Per Metre
- Color shades may slightly vary from dye-lot to dye-lot
- Image used for illustration purpose only
-
- Price Per Metre
- Color shades may slightly vary from dye-lot to dye-lot
- image used for illustration purpose only
-
- Price Per Metre
- Color shades may slightly vary from dye-lot to dye-lot
- Image used for illustration purpose only
-
- Price Per Metre
- Color shades may slightly vary from dye-lot to dye-lot
- Image used for illustration purpose only
-
- Price Per Metre
- Color shades may slightly vary from dye-lot to dye-lot
- Image used for illustration purpose only
-
- Price Per Metre
- Color shades may slightly vary from dye-lot to dye-lot
- Image used for illustration purpose only